1. JCR Query Tools GUI
Before diving into the specifics of JCR queries, it's essential to familiarize yourself with the JCR Query tool in Magnolia. This tool is your gateway to interacting with the Java Content Repository directly through queries.
Accessing the JCR Query Tool
-
To begin, log into Magnolia AdminCentral.
-
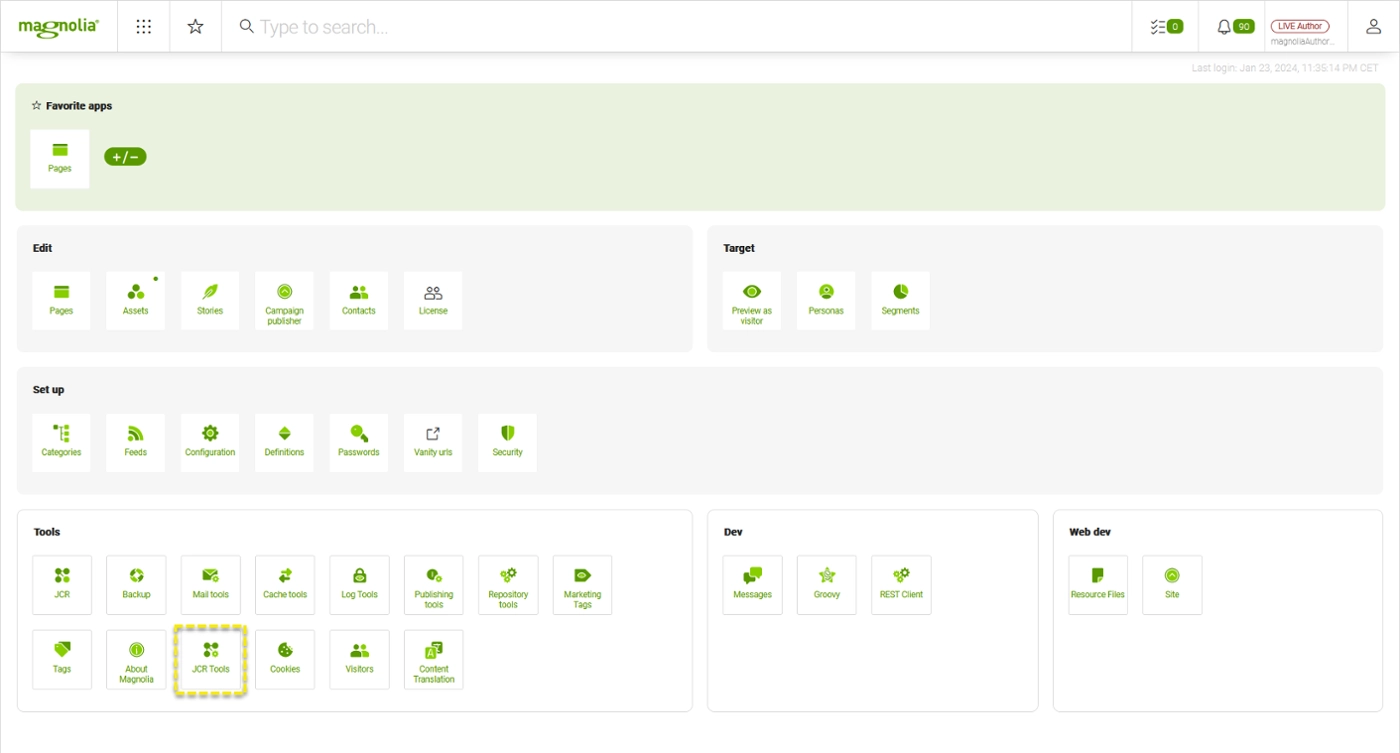
Once logged in, navigate to the 'Tools' section. Here, you'll find a tool labeled 'JCR Query'. This is where you'll spend most of your time crafting and executing your queries.
Understanding the JCR Query Interface
The JCR Query interface is relatively straightforward. At its core, it comprises a few key elements:
- Workspace Selection
This is where you choose which part of the repository you want to query. Common options include 'website' for site content, 'dam' for digital assets, and 'users' for user data.Selecting the correct workspace is crucial as it determines the scope of your query. - Query Language Selection
Magnolia supports various query languages like SQL2 and XPath.The choice of language affects how you write your queries and what syntax to use.In this tutorial we will focus only on JCR SQL2. - Result Item Type
This allows you to narrow down the results to specific types of nodes or properties.This feature is particularly useful when dealing with large datasets, as it helps in focusing on the relevant parts of your query results. - Query Input Area
This is a text input field where you type or paste your JCR query. It's designed to accommodate multi-line queries, allowing for complex query constructions. - Execution Controls
Button to execute your Query - Results Display
This area displays the results of your executed queries. It's crucial for analyzing the output and understanding the structure and content of your JCR. Results are usually presented in a table format, showing nodes and properties as defined by your query.

Contact the author